4.6 KiB
Starting with cursive: (1/3)
Target goal
In this first tutorial, we'll learn the basics of cursive, and write a very basic first application:
use cursive::views::TextView;

fn main() {
	let mut siv = cursive::default();

	siv.add_global_callback('q', |s| s.quit());

	siv.add_layer(TextView::new("Hello cursive! Press <q> to quit."));

	siv.run();
}
Run the application, and you should have something like this:
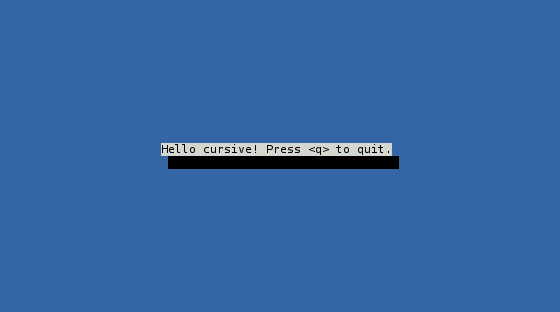
Now that you have an idea of what we'll do, let's start from scratch.
Project configuration
Let's create a new project (this is basic cargo stuff I hope you're familiar with):
% cargo new --bin cursive_example
Now, we'll add cursive to the list of dependencies in Cargo.toml:
[package]
name = "cursive_example"
version = "0.1.0"

[dependencies]
cursive = "*"
Finally, update src/main.rs to import it:
fn main() {
}
This simple application is now ready to use cursive. So let's do just that!
The Cursive root
The cursive library is configured through a main Cursive root.
A typical cursive application will consist of three phases,
all centered around this object:
- Create a
Cursiveobject (we will use thecursive::default()method for that) - Configure the
Cursiveobject - Run the
Cursiveobject
Of these, the configuration phase is often the largest one, so let's skip it for now.
In its simplest form, a cursive application is therefore:
fn main() {
	let mut siv = cursive::default();

	siv.run();
}
It's rather easy to identify the two steps involved.
If you run this, you'll get an empty blue terminal, with no way of properly leaving the application (you'll have to press Ctrl+C to kill it).
Interactivity
Let's first add a way to stop the application. We want to quit when the user
presses the letter q.
Cursive sends an event for every user input; most of these are just ignored
and have no effect. The Cursive root has an add_global_callback method to
call a function anytime a certain event is fired.
This method takes 2 arguments: a trigger, and a callback.
- The trigger needs to implement
Into<event::Event>. In addition toevent::Eventitself, this includesevent::Key, or simplychar. These will trigger when the corresponding key (or letter) is pressed. - The callback should be a function taking an
&mut Cursiveas an argument. Here, we want to quit, so we'll useCursive::quitin a closure:|s| s.quit().
In the end, we have:
fn main() {
	let mut siv = cursive::default();

	siv.add_global_callback('q', |s| s.quit());

	siv.run();
}
As expected, running it shows no visible change, but hitting the q key does
close the application.
Views
Views are the main components of the user interface in a cursive
application. At their core, they define what to draw in a rectangle of the
terminal. For instance, a view can print a line of text, or a checkbox, etc.
Here, we'll be using a TextView to show a short message. TextView itself
can also deal with long text and do proper word-wrapping, but we won't need
that today.
The TextView constructor just takes the text to use: TextView::new("...").
The Cursive root itself uses a StackView on the entire screen. This
StackView unsurprisingly stacks views in layers. It starts empty, so we'll
just need to add our TextView as a layer. Cursive::add_layer lets us do
exactly that.
Once we've added this line, our first application is complete:
use cursive::views::TextView;

fn main() {
	let mut siv = cursive::default();

	siv.add_global_callback('q', |s| s.quit());

	siv.add_layer(TextView::new("Hello cursive! Press <q> to quit."));

	siv.run();
}